Upgrade Your Painting Toolkit: Rollers, Brushes and More
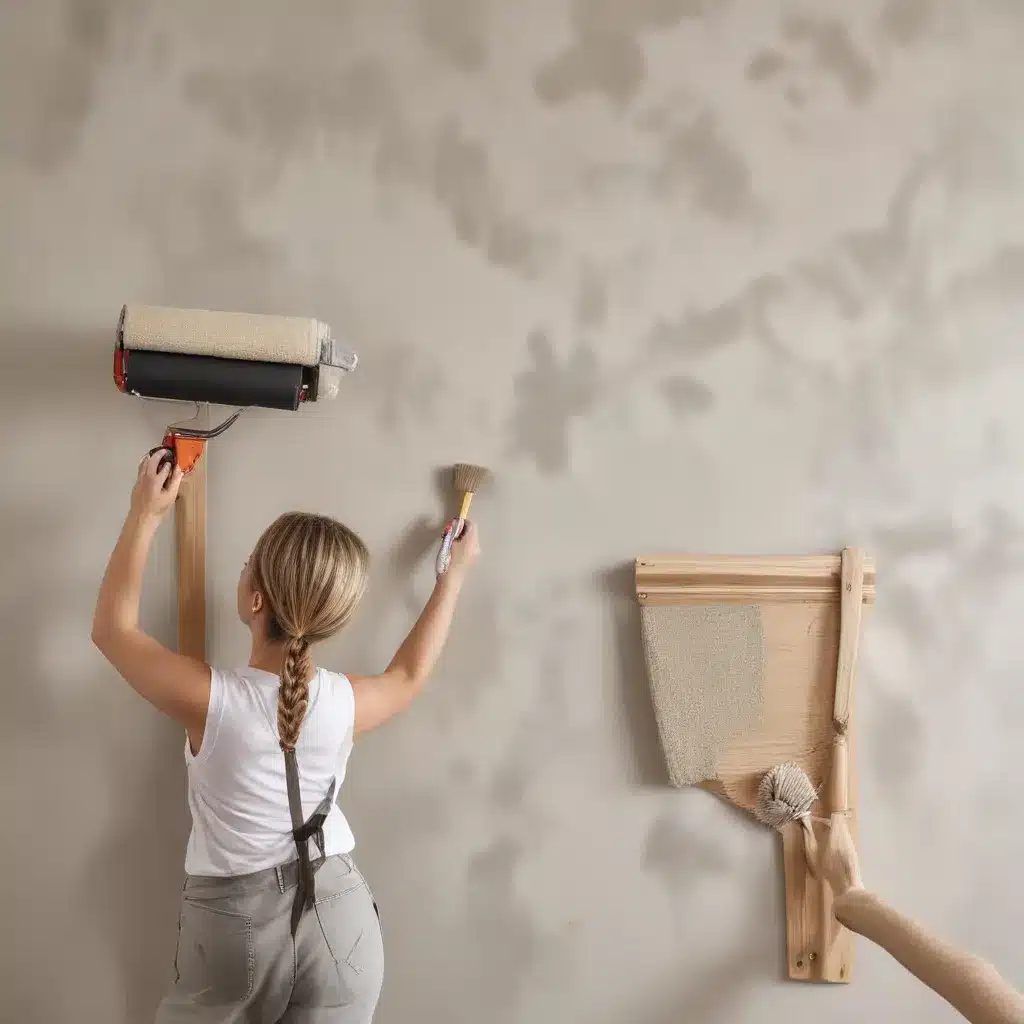
As an experienced home improvement consultant, I’ve seen firsthand how the right painting tools can make all the difference in the outcome of a renovation project. Whether you’re tackling a small furniture refresh or revamping an entire room, having the proper brushes, rollers and specialty accessories can elevate the quality of your work, streamline the process and help you achieve a professional-looking finish.
In this comprehensive guide, I’ll walk you through the essential components of a painter’s toolkit, offer guidance on selecting the best options for your needs, and share expert techniques for using these tools effectively. From budget-friendly projects to eco-friendly solutions and family-friendly designs, we’ll explore how the right painting implements can transform your space.
Brushes: The Artist’s Brush Palette
At the heart of any painting project are the brushes. These versatile tools come in a wide variety of shapes, sizes and bristle types, each designed for specific applications. Stiff brushes with tipped, flagged filaments are ideal for cutting in clean lines around trim, windows and doors, while softer, nylon brushes excel at providing a seamless, mark-free finish on surfaces like cabinets and furniture.
When selecting brushes, consider the task at hand. Smaller, angled brushes are perfect for detailed work, while larger, rectangular brushes can cover broad areas more efficiently. The handle length is also an important factor – a shorter grip often provides better control for intricate painting, while longer handles allow for broader, sweeping strokes.
One of my personal favorites is the Purdy ClearCut brush. With its sturdy, synthetic bristles and precise angled shape, it delivers crisp, clean lines every time. For smooth, flawless finishes on interior trim and cabinetry, the Purdy Nylox series is hard to beat.
Rollers: Efficient Painting Companions
While brushes excel at cutting in and handling detailed work, rollers are the unsung heroes for covering large expanses quickly and evenly. The key is choosing the right roller cover based on the nap length, fabric type and width.
Shorter 1/4″ nap rollers are ideal for smooth surfaces like doors and trim, while 3/8″ naps are a versatile option for most interior walls. Textured walls and ceilings may require a 1/2″ or 3/4″ nap to ensure full paint penetration. When it comes to the roller cover material, woven fabrics tend to provide a smoother finish, while knit rollers hold more paint and leave a more pronounced stippled effect.
For an effortless, professional-grade wall painting experience, I recommend the Purdy White Dove roller cover. Its high-density, lint-free woven material and 3/8″ nap strike the perfect balance between coverage and a flawless, uniform appearance.
Specialty Tools: Enhancing Your Technique
While brushes and rollers form the backbone of your painting toolkit, a few specialty tools can elevate your technique and streamline the process. Angled sash brushes, for example, excel at cutting in along trim and edges, while foam stamps can add unique textures and patterns to walls or furniture.
For large, repetitive painting tasks, consider investing in a paint pad or mini-roller. These compact tools allow you to cover broad areas quickly, without the need for constant dipping and reloading. And don’t forget about paint trays, liners and extension poles – these accessories can make the job more comfortable and efficient, whether you’re painting ceilings, walls or the exterior of your home.
Choosing the Right Painting Supplies
With so many options on the market, selecting the appropriate brushes, rollers and accessories for your project can feel overwhelming. However, by keeping a few key factors in mind, you can ensure you’ll have the right tools for the job.
Selecting High-Quality Brushes
When it comes to brushes, quality is paramount. Cheaper, lower-grade bristles are prone to shedding, fraying and leaving unsightly brush marks. Invest in professional-grade brushes from trusted brands like Purdy, which use tipped and flagged filaments to deliver a smooth, uniform finish.
Look for brushes with the right stiffness and shape for the task at hand. Stiffer, angled brushes are perfect for cutting in around trim and edges, while softer, square-tipped options work well for broad, open areas. The handle length is also an important consideration – shorter grips offer more control for detailed work, while longer handles allow for broader, more efficient strokes.
Versatile Roller Options
Rollers come in a wide range of nap lengths, widths and fabric compositions, each suited for different painting applications. As a general rule, the smoother the surface, the shorter the nap should be. For interior walls, a 3/8″ nap roller cover is a versatile option that provides good coverage without leaving excessive texture.
If you’re working on a heavily textured surface like stucco or brick, opt for a 3/4″ or 1-1/4″ nap to ensure full paint penetration. And for ultra-smooth finishes on trim, doors or furniture, a short 1/4″ nap roller is the way to go.
The roller cover fabric is another important consideration. Woven rollers deliver a smooth, lint-free finish, while knit rollers leave a more pronounced stippled effect and tend to hold more paint for faster coverage.
Supplementary Painting Accessories
Beyond brushes and rollers, a few key accessories can streamline your painting process and help you achieve professional-level results. Paint trays and liners make it easy to load your roller and minimize drips and spills. Extension poles allow you to reach ceilings and high walls without the need for a ladder. And specialized tools like angled sash brushes and foam stamps can help you tackle intricate details and add unique textures to your projects.
When outfitting your painting toolkit, think about the specific challenges of your project and select the tools that will help you work efficiently and effectively. Investing in quality supplies may cost a bit more upfront, but the time and effort they’ll save you – not to mention the superior finish they’ll help you achieve – make them well worth the investment.
Brush Techniques for Seamless Finishes
Mastering the art of painting with brushes is key to ensuring a smooth, consistent final result. From cutting in crisp lines to blending and layering for depth and dimension, the right techniques can make all the difference.
Mastering Brush Strokes
Achieving a flawless, brush-mark-free finish starts with your brush technique. Load the bristles evenly with paint, then apply it to the surface using long, smooth strokes, working in the direction of the wood grain or paneling. Avoid going over the same area too many times, as this can lead to unsightly built-up paint.
When cutting in around trim, doors and other edges, use a stiff angled brush to create clean, defined lines. Apply paint in a single, decisive stroke, keeping the bristles perpendicular to the surface. Reload the brush frequently to maintain a consistent, wet edge.
For broad, open areas, utilize a larger, rectangular brush and employ long, sweeping motions. Overlap each stroke slightly to ensure even coverage and eliminate visible lines.
Blending and Layering with Brushes
Adding depth and dimension to a painted surface often requires a bit of layering and blending. Start by establishing the base coat with a smooth, even application. Once dry, use a softer, more pliable brush to lightly drybrush additional colors or tones, creating subtle variations and highlights.
To seamlessly blend edges between colors or paint types, try the “ribbon” technique. Apply a thin, wet “ribbon” of paint along the seam, then immediately feather it out using long, overlapping brush strokes. This helps eliminate harsh lines and creates a cohesive, natural-looking transition.
Specialty Brush Applications
While standard paintbrushes are the workhorses of any painting project, specialized tools can elevate your technique and add unique design elements. Angled sash brushes, for example, are ideal for cutting in along trim, window frames and other tight spaces.
Foam stamps can be used to add decorative patterns, textures and effects to walls, furniture or even floors. Simply dip the stamp in paint, then press it firmly onto the surface in a random, organic pattern for a one-of-a-kind look.
No matter the project, mastering brush control and techniques is key to achieving a professional-grade finish. With a little practice and the right tools, you’ll be painting like a pro in no time.
Roller Strategies for Smooth Surfaces
While brushes excel at cutting in and detailing, rollers are the workhorses for efficiently covering large areas. By understanding the nuances of roller selection and application, you can ensure a flawless, uniform finish on walls, ceilings and beyond.
Achieving Uniform Coverage
The key to smooth, even paint application with a roller is proper paint loading and cross-hatching technique. Start by dipping the roller cover into the paint tray, ensuring it’s fully saturated but not dripping wet. Then, apply the paint in a cross-hatch pattern – first rolling horizontally, then vertically, before finishing with long, overlapping vertical strokes.
This method helps the paint penetrate the roller cover’s nap and distribute it evenly across the surface. Avoid pressing too hard or overworking the same area, as this can lead to excess paint buildup and uneven coverage.
Navigating Corners and Edges
Painting around trim, baseboards and other tight spaces can be a challenge with a full-size roller. That’s where mini-rollers and paint pads shine. These compact tools allow you to get into nooks and crannies without sacrificing coverage or finish quality.
Start by cutting in the edges with a brush, then follow up with the mini-roller or pad to blend the paint seamlessly. For ceiling edges and corners, an angled sash brush can help you achieve crisp, clean lines.
Roller Maintenance and Care
To extend the life of your rollers and ensure a consistent performance, proper cleaning and storage are essential. Immediately after use, remove excess paint from the cover by running it through a paint wringer or paint comb. Then, wash the roller thoroughly with soap and water, taking care to remove any dried paint from the nap.
Once clean, allow the roller to fully dry before storing it in a cool, dry place. Wrap the cover in a plastic bag or airtight container to prevent the nap from becoming misshapen or collecting dust.
By mastering roller techniques and caring for your equipment, you can tackle large painting projects with efficiency and ease, while achieving a stunning, professional-grade finish.
Bringing It All Together
Whether you’re tackling a budget-friendly makeover or a family-friendly home renovation, the right painting tools and techniques can make all the difference. By investing in high-quality brushes, rollers and specialty accessories, you’ll not only save time and effort, but you’ll also elevate the quality of your work.
Remember to consider the specific needs of your project when outfitting your painting toolkit. Smooth surfaces may call for shorter nap rollers and softer brushes, while textured walls or intricate details may require specialized tools like angled sash brushes or foam stamps.
By combining the right supplies with proven painting methods, you can achieve a flawless, professional-looking finish every time. And don’t forget to visit the Reluctant Renovator for more tips, inspiration and resources to guide you through your next home improvement adventure.


