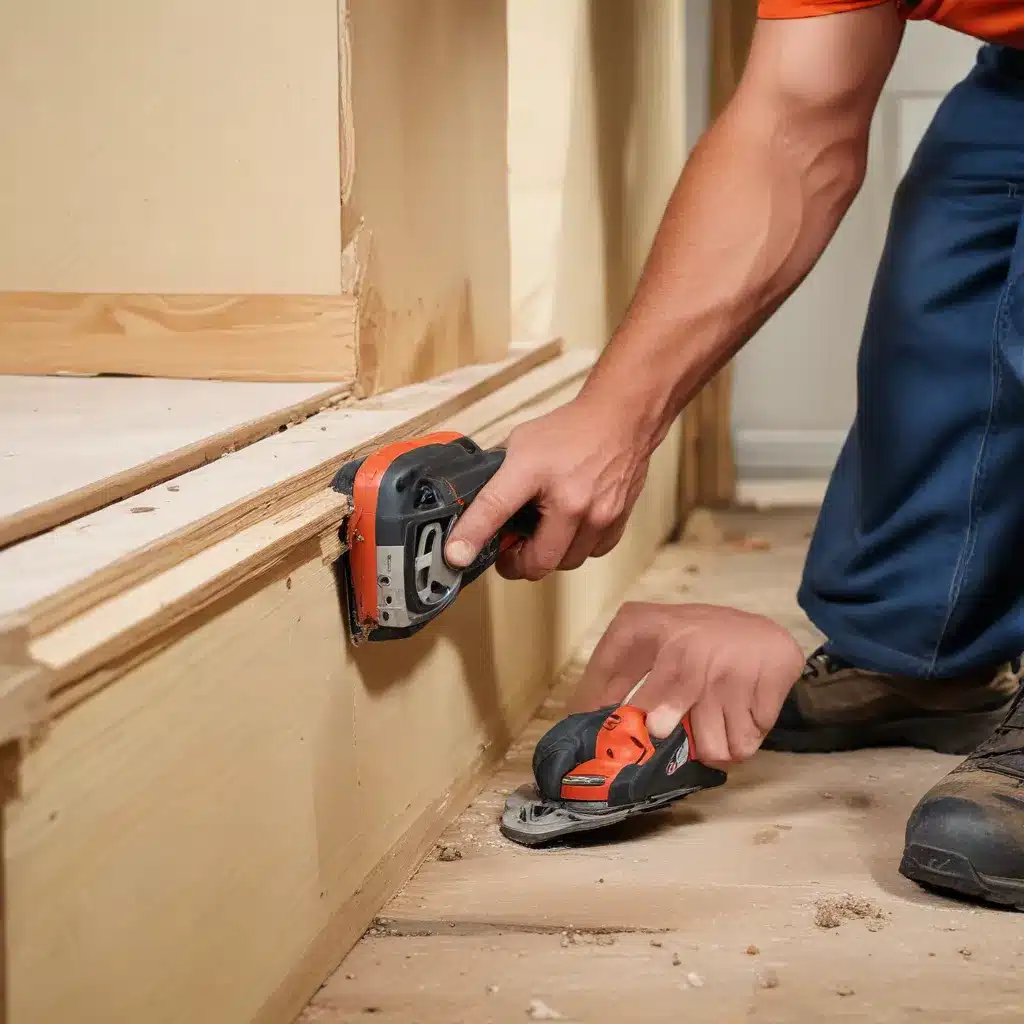
Mastering Trim Removal: The Best Tools for Seamless Demolition
As an experienced home improvement consultant, I’ve encountered countless renovation projects that involve the meticulous removal of trim – from baseboards and crown molding to door and window casings. Trim can be both a blessing and a curse; it adds essential finishing touches to a space, but its removal requires precision and care to avoid unsightly damage to surrounding surfaces.
Fortunately, with the right demolition tools and techniques, you can tackle trim removal with confidence, laying the foundation for a seamless renovation. In this comprehensive guide, we’ll dive deep into the essential equipment, preparation steps, and specialized methods that will empower you to conquer even the most stubborn trim with ease.
Fundamental Tools for Seamless Demolition
The success of any trim removal project hinges on having the appropriate demolition tools at your disposal. While brute force may seem tempting, finesse and the right instruments will yield far superior results.
Essential Demolition Equipment:
– Pry bars (both small and large variants) to gently loosen and lift trim
– Utility knives with sharp, replaceable blades for scoring and cutting
– Hammer or mallet for tapping and gently striking trim pieces
– Chisel or putty knife to slip under stubborn trim edges
– Vacuum cleaner or shop vac to quickly clean up debris
Precision Cutting Instruments:
– Oscillating multi-tool with specialized trim removal blades
– Jamb saw or Japanese pull saw for delicate, controlled cuts
– Angle grinder with a diamond blade for cutting through adhesives
Versatile Prying Tools:
– The Zenith Trim Puller, a robust pry bar designed specifically for trim removal
– Flat-head screwdrivers of varying sizes to leverage under trim edges
– Nail pullers or cat’s paw tool for extracting stubborn fasteners
Equipping yourself with this arsenal of demolition tools will ensure you have the right instrument for each unique trim removal challenge.
Preparation for Trim Removal
Before you begin the actual trim extraction process, it’s crucial to assess the worksite and take the necessary precautions to protect both the surrounding surfaces and yourself.
Assessing the Worksite:
– Identify the trim material – is it wood, plastic, or something else?
– Examine the condition of the trim and the surfaces it’s attached to
– Note any unique installation methods, like adhesives or concealed fasteners
Protective Measures:
– Carefully cover or mask off adjacent walls, floors, and surfaces to prevent damage
– Wear appropriate personal protective equipment (PPE), such as safety glasses, gloves, and a respirator if dealing with older materials
– Ensure the work area is well-ventilated and free of potential tripping hazards
By taking the time to thoroughly inspect the space and implement the necessary safeguards, you’ll set yourself up for a smooth and successful trim removal process.
Techniques for Efficient Trim Removal
With your tools and preparatory steps in place, it’s time to tackle the actual trim removal. Approach this task with a methodical mindset and be ready to adapt to any unique scenarios that may arise.
Methodical Approach:
– Begin by carefully scoring the paint or caulk along the trim edges using a utility knife
– Gently insert a pry bar or chisel beneath the trim, being mindful of the surrounding surfaces
– Apply steady, even pressure to lift and pry the trim away, working in short sections
– Avoid yanking or twisting the trim, as this can lead to splintering or cracking
Innovative Removal Methods:
– For trim secured with adhesives, use an oscillating multi-tool to carefully cut through the bond
– If nails or screws are concealed, use a jamb saw or angle grinder to expose and remove the fasteners
– For particularly stubborn trim, employ the specialized Zenith Trim Puller, which is designed to efficiently and safely extract the material
Throughout the process, maintain a keen eye for any potential damage to the walls, floors, or other adjacent surfaces. If issues arise, pause and problem-solve before proceeding.
Seamless Finishing Touches
Once the trim has been successfully removed, the real work begins. Preparing the surfaces for refinishing and achieving a flawless final result requires meticulous attention to detail.
Preparing Surfaces for Refinishing:
– Carefully clean and smooth the areas where the trim was attached
– Fill any nail or screw holes, gaps, or uneven surfaces with a suitable filler or patching compound
– Sand the repaired areas to ensure a seamless transition for new trim or finishes
Achieving a Flawless Finish:
– Use blending techniques, such as feathering the edges, to create a seamless transition between the old and new surfaces
– Consider the overall aesthetic goals of the space and choose trim profiles, materials, and finishes that will optimize the visual appeal
– Enlist the help of a professional painter or finisher if you’re unsure about achieving the desired results
By taking the time to properly prepare the surfaces and meticulously attend to the finishing details, you’ll be rewarded with a polished, renovation-ready workspace – one that sets the stage for your next exciting project.
Mastering the art of trim removal requires a combination of the right tools, thoughtful preparation, and a methodical approach. By following the strategies outlined in this guide, you’ll be well on your way to tackling even the most daunting trim removal challenges with confidence and precision. Remember to always prioritize safety, protect surrounding surfaces, and strive for a flawless end result. Happy renovating!
For more renovation inspiration and expert insights, be sure to visit Reluctant Renovator, your go-to resource for all things home improvement.


