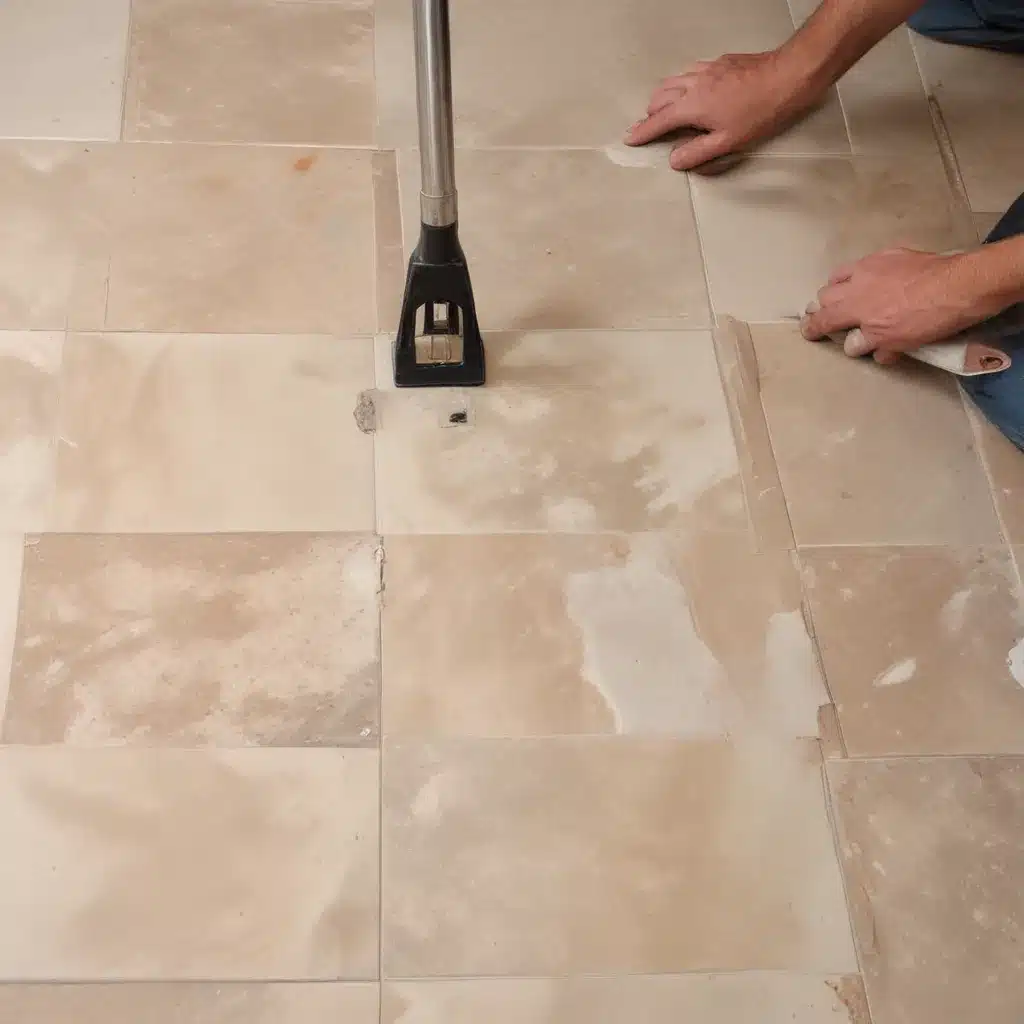
Streamlining Tile Removal: Renovation Hacks for a Smooth Transition
Embarking on a bathroom or kitchen renovation can be an exciting yet daunting prospect, especially when it comes to the dreaded task of tile removal. Whether you’re dealing with outdated ceramic, stubborn porcelain, or troublesome natural stone, the prospect of ripping up an entire floor or wall can seem overwhelming. However, with the right preparation and strategic approach, this critical first step can be streamlined for a seamless transition to your new dream space.
Assessing the Project Scope
The initial step in any tile removal project is to thoroughly evaluate the current condition of your existing tiles. A careful assessment will not only inform the most appropriate removal techniques but also help you identify any potential subfloor issues that need to be addressed prior to installation of the new flooring.
Start by closely inspecting the tiles themselves. Are they firmly adhered to the subfloor, or do you notice any loose, cracked, or crumbling pieces? The condition of the existing tiles will dictate the level of effort required for extraction. Tiles that are in good shape and securely attached may be removed using mechanical methods, while heavily damaged or poorly bonded tiles may necessitate the use of chemical solutions to facilitate a cleaner, more efficient removal process.
Next, examine the subfloor beneath the tiles. Look for any signs of moisture damage, uneven surfaces, or structural issues that could compromise the stability and longevity of your new flooring. Addressing these underlying problems upfront will save you from costly and time-consuming repairs down the line.
Tile Removal Strategies
Once you’ve thoroughly assessed the project scope, it’s time to determine the most appropriate tile removal technique. The two primary methods are:
Mechanical Tile Removal:
For tiles in relatively good condition, a mechanical approach using tools like angle grinders, oscillating multi-tools, or tile scrapers may be the most efficient option. These power tools allow you to methodically chip away at the tile surface, breaking the adhesive bond without damaging the underlying subfloor. This method tends to be less messy and generates less airborne dust, making it a suitable choice for homeowners who want to minimize the disruption to their living space.
Chemical Tile Removal:
When dealing with heavily damaged, stubborn, or poorly adhered tiles, chemical solutions can be a game-changer. Products like tile remover solvents or tile removal gels are designed to soften the adhesive, allowing you to pry up tiles more easily. While this approach may be messier and require more personal protective equipment, it can be incredibly effective in tackling challenging tile removal projects.
Regardless of the method you choose, be sure to take the necessary safety precautions. Wear protective eyewear, gloves, and a respirator mask to avoid inhaling harmful dust or fumes. Proper containment of the work area is also crucial to prevent the spread of debris throughout your home.
Subfloor Considerations
Once the tiles have been successfully removed, it’s time to turn your attention to the subfloor. Carefully inspect the surface for any damage, such as cracks, uneven areas, or signs of moisture intrusion. These issues must be addressed before you can proceed with the installation of your new flooring.
If the subfloor is in good condition, a thorough cleaning to remove any residual adhesive or debris may be all that’s required. However, if you encounter more significant problems, you may need to repair or replace sections of the subfloor to ensure a stable, level foundation for your new tile, hardwood, or laminate.
For instance, if you discover areas of the subfloor that are soft, spongy, or uneven, you’ll likely need to replace those sections with new plywood or cement-based underlayment. This step is crucial to preventing future failures or unevenness in your new flooring. Additionally, any moisture-related issues must be addressed to prevent mold, mildew, or further deterioration of the subfloor.
Dust and Debris Management
Tile removal, regardless of the method used, can generate a significant amount of dust and debris. Proper containment and cleanup strategies are essential to minimizing the impact on your living space and ensuring a safe work environment.
Start by thoroughly sealing off the work area using plastic sheeting or other protective barriers. This will help prevent the spread of dust and debris throughout your home. Additionally, consider using a HEPA-filtered vacuum or air purifier to capture airborne particles and maintain good indoor air quality.
Once the tile removal is complete, focus on efficient debris cleanup. Utilize a sturdy push broom and dustpan to gather the larger pieces, then follow up with a HEPA-filtered vacuum to ensure all the fine dust is removed. Carefully dispose of all waste in accordance with local regulations, and consider recycling or repurposing any salvageable materials whenever possible.
Transitioning to the New Flooring
With the tile removal and subfloor preparation complete, you’re now ready to transition to your new flooring. When selecting the replacement material, consider options that complement the overall aesthetic and design of your space. Whether you opt for durable porcelain tiles, timeless hardwood, or contemporary luxury vinyl plank, be sure to choose a product that not only aligns with your personal style but also meets your functional requirements.
During the installation process, pay close attention to the transitions between the new flooring and any existing surfaces, such as baseboards or door thresholds. Carefully planning these junctures will ensure a seamless, professional-looking finish that ties the entire space together.
By thoughtfully addressing each step of the tile removal process, from assessment to debris management, you’ll be well on your way to a successful and stress-free renovation. Remember, the Reluctant Renovator is here to provide guidance and support throughout your project, so don’t hesitate to reach out for additional tips and tricks. Happy renovating!


