DIY Delights: Budget-Friendly Tile and Backsplash Installations
As an experienced home improvement consultant, I know that tackling a tile or backsplash project can feel daunting, especially for budget-conscious renovators. However, with the right strategies and a bit of DIY know-how, you can achieve stunning results without breaking the bank. In this comprehensive guide, I’ll share practical tips, innovative material options, and step-by-step installation techniques to help you transform your space with budget-friendly flair.
Tile Selection Strategies
When it comes to affordable tile options, the possibilities are endless. Ceramic and porcelain tiles are perennial favorites, offering a wide range of styles, colors, and textures at relatively low prices. For a more unique aesthetic, consider vinyl or laminate tiles, which can mimic the look of natural stone or hardwood at a fraction of the cost.
If you’re drawn to the timeless appeal of natural stone, don’t dismiss it entirely. While marble, granite, and travertine can be pricey, slate and limestone often provide a similar high-end appearance at more budget-friendly price points. Just be mindful of their maintenance requirements and ensure they’re suitable for your specific application.
Tile Styles for Budgets
When working with a tight budget, it’s important to focus on tile styles that deliver maximum impact without maxing out your funds. Classic subway tiles, hexagon mosaics, and penny rounds can transform a space with their timeless elegance, while large-format tiles and plank-style designs can create a sense of spaciousness by reducing the number of grout lines.
For a touch of modern flair, consider elongated hexagon, arabesque, or fish scale tiles, which add unique visual interest without sacrificing affordability. Don’t be afraid to mix and match tile sizes or incorporate patterned or textured tiles to add depth and dimension to your design.
Tile Material Considerations
While the aesthetic appeal of tile is crucial, it’s equally important to evaluate the functionality of your chosen material. Porcelain and ceramic tiles are known for their durability, water resistance, and easy maintenance, making them a popular choice for high-traffic areas and wet spaces. Luxury vinyl plank (LVP) tiles, on the other hand, offer a comfortable, cushioned surface underfoot and can mimic the look of natural wood or stone.
If you’re seeking an eco-friendly option, explore recycled glass, reclaimed wood, or natural stone tiles, which not only reduce your environmental impact but can also add character and charm to your space. Remember to consider the slip resistance, R-value (thermal resistance), and VOC content (volatile organic compounds) of your chosen tiles to ensure they meet your specific needs and safety requirements.
Backsplash Design Essentials
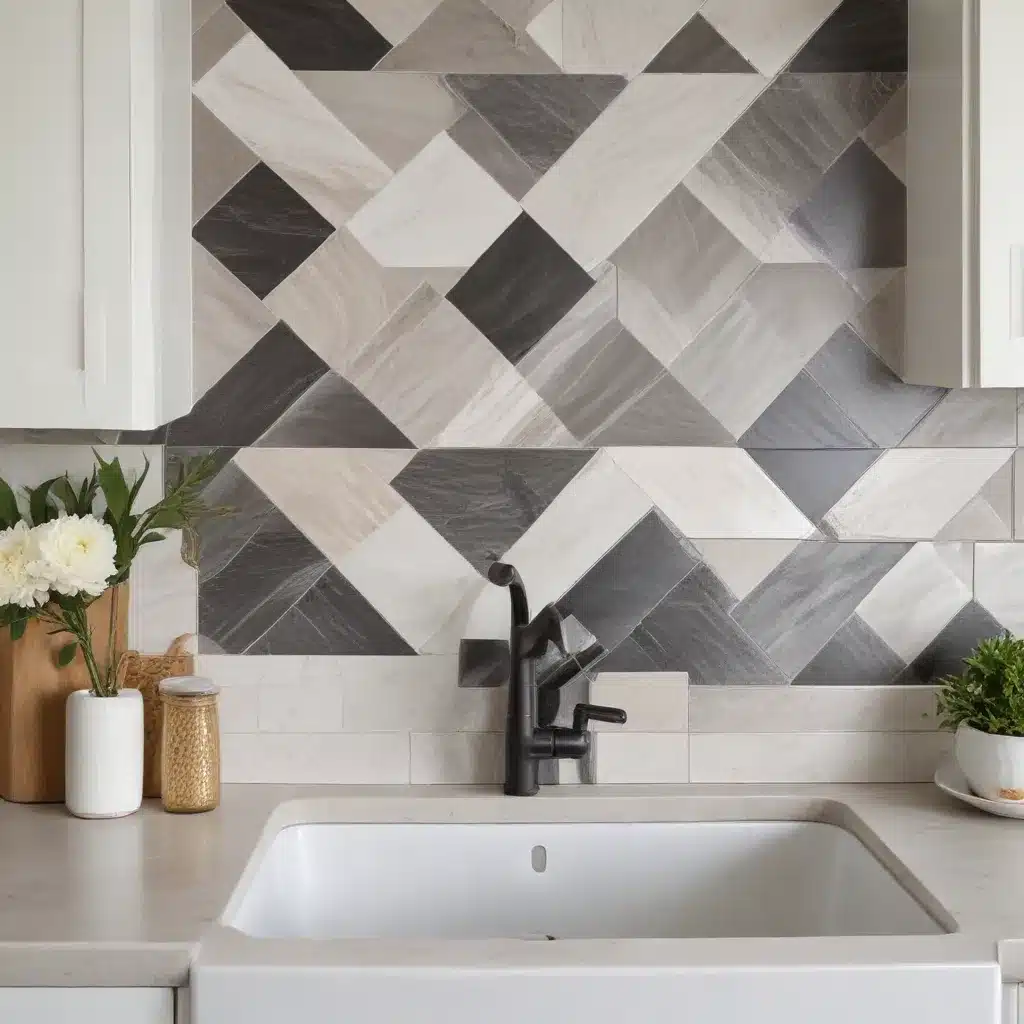
Transforming your kitchen or bathroom with a budget-friendly backsplash is a fantastic way to make a big impact with minimal investment. From classic subway tile patterns to eye-catching herringbone or chevron designs, the possibilities are endless.
Backsplash Tile Patterns
When it comes to backsplash tile patterns, the classic brick or staggered layout is a timeless choice that can be easily achieved with DIY installation. For a more dynamic look, consider a running bond or vertical pattern, which can create the illusion of a taller or wider space.
Coordinating Backsplash Colors
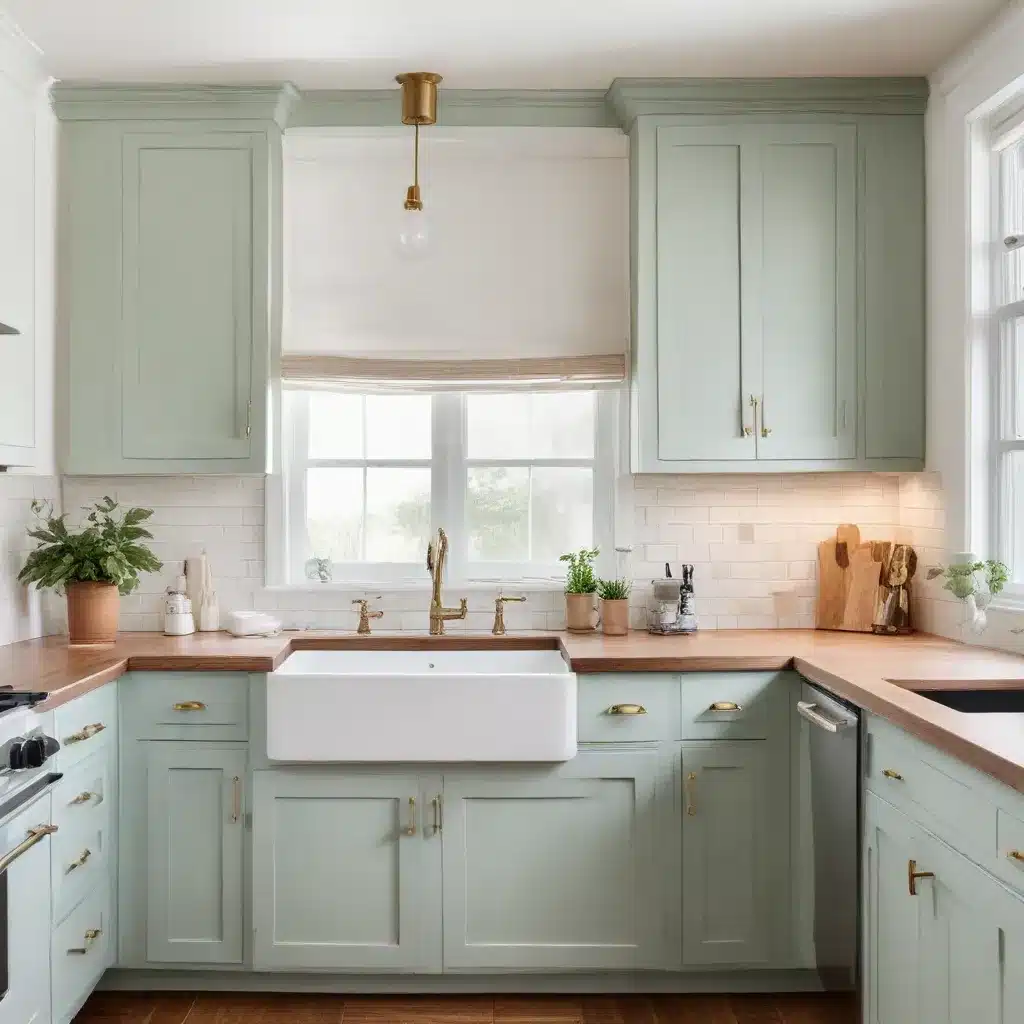
Choosing a backsplash color that complements your existing cabinetry, countertops, and wall colors is crucial for achieving a cohesive design. Neutral tones like white, gray, or beige are perennial favorites, as they offer a versatile canvas for accentuating other elements in the room. If you’re feeling bold, don’t hesitate to incorporate pops of vibrant or metallic tiles to add visual interest and personality to your space.
Backsplash Tile Dimensions
The size of your backsplash tiles can significantly impact the final look and feel of your space. Standard subway tiles (3×6 inches) are a classic choice, but larger formats (4×12 inches or 6×12 inches) can create a more contemporary, streamlined appearance. For a textured or artisanal vibe, consider handmade or penny round tiles, which add depth and character to your design.
DIY Tile Installation Techniques
Tackling a tile or backsplash project as a DIY enthusiast can be incredibly rewarding, not to mention budget-friendly. With the right tools and a bit of patience, you can achieve professional-quality results without the steep cost of hiring a contractor.
Tile Cutting and Shaping
One of the keys to a successful DIY tile installation is mastering the art of cutting and shaping tiles to fit your space. Invest in a wet saw or tile nippers to precisely trim tiles around outlets, corners, and other obstacles. For intricate cuts, a Dremel tool with a diamond wheel can be a game-changer, allowing you to create custom shapes and angles with ease.
Tile Adhesive Application
Proper adhesive application is crucial for ensuring your tiles adhere securely and stand the test of time. Begin by priming and cleaning the surface to remove any dirt, dust, or debris that could compromise the bond. When applying the thinset mortar or mastic, be sure to use a notched trowel to create a consistent, even layer for optimal coverage and adhesion.
Tile Grouting Procedures
Once your tiles are in place, it’s time to tackle the grouting process. Start by selecting a grout color that complements your tile choice, then use a grout float to evenly fill the spaces between the tiles. Carefully remove any excess grout with a damp sponge, being mindful not to disturb the tile alignment. Allow the grout to fully cure, then apply a grout sealer to protect against stains and moisture.
Backsplash Installation Steps
Transforming your kitchen or bathroom with a budget-friendly backsplash is a fantastic way to make a big impact with minimal investment. By following these step-by-step instructions, you can achieve professional-looking results without breaking the bank.
Backsplash Surface Preparation
Begin by ensuring the wall surface is clean, dry, and free of any loose debris or old adhesive. If necessary, use a drywall compound to smooth out any uneven areas or fill in holes, then sand the surface until it’s perfectly smooth and ready for tile installation.
Backsplash Tile Placement
Start by laying out your tile pattern and marking the center point of your backsplash. Apply a generous amount of thinset mortar to the wall, using a notched trowel to create a consistent, even layer. Carefully press the tiles into the adhesive, making sure to maintain proper spacing and alignment.
Backsplash Finishing Touches
Once all the tiles are in place, it’s time to tackle the grouting process. Follow the same techniques as you would for a floor tile installation, taking care to remove excess grout and ensure a clean, professional finish. If desired, you can also apply a grout sealer to protect against stains and moisture. Finally, reinstall any outlet covers or switch plates, and enjoy your budget-friendly backsplash transformation!
Budget-Friendly Tile Tools
Achieving a professional-looking tile or backsplash installation doesn’t have to break the bank. By investing in the right tools and equipment, you can streamline the process, reduce the risk of costly mistakes, and save money in the long run.
Essential Tiling Tools
At a minimum, you’ll need a wet saw for precise tile cutting, a notched trowel for adhesive application, a grout float for grouting, and a tile nippers for shaping tiles around obstacles. Don’t forget safety gear like goggles, gloves, and a dust mask to protect yourself during the installation process.
Cost-Effective Tool Alternatives
If you’re on a tight budget, consider exploring alternative DIY options for your tiling tools. For example, a miter saw or circular saw with a masonry blade can serve as a cost-effective substitute for a wet saw, while a putty knife or margin trowel can be used in place of a grout float.
Tool Maintenance Tips
Proper tool maintenance is essential for ensuring your DIY tile projects run smoothly and efficiently. Regularly clean and lubricate your wet saw, keep your blades and bits sharp, and store your tools in a safe, dry place to extend their lifespan and maximize your investment.
Backsplash Installation Tools
When it comes to budget-friendly backsplash installations, the right tools can make all the difference in the world. From specialized tile nippers to grout brushes, having the proper equipment on hand can streamline the process and help you achieve professional-quality results.
Backsplash Specific Tools
In addition to the essential tiling tools, consider investing in a tile level or spacing wedges to ensure perfect tile alignment, as well as a caulk gun for seamlessly applying any necessary sealants or grout.
Versatile Tool Recommendations
Look for multi-purpose tools that can be used for both tile and backsplash installations, such as a manual tile cutter or a rotary tool with a diamond blade. These versatile options can save you time and money by reducing the need for specialized equipment.
Tool Storage Solutions
Proper tool storage is key to maintaining the longevity and functionality of your equipment. Invest in a toolbox or rolling tool chest to keep your tiling and backsplash tools organized and easily accessible, and consider wall-mounted or pegboard storage systems to maximize your workshop or garage space.
Maximizing Budget with DIY
Tackling a tile or backsplash project as a DIY enthusiast can be an incredibly rewarding experience, both in terms of cost savings and personal satisfaction. By rolling up your sleeves and taking on the installation process yourself, you can not only save a significant amount of money but also develop valuable DIY skills that will serve you well in future home improvement projects.
DIY Time and Cost Savings
By foregoing the labor costs associated with hiring a professional contractor, you can expect to save anywhere from 50% to 75% on your overall project budget. Additionally, the DIY approach allows you to work at your own pace, minimizing the disruption to your daily routine and maximizing your investment.
DIY Skill Building Benefits
Embarking on a tile or backsplash installation project as a DIY enthusiast can be an immensely rewarding experience, as it allows you to develop a range of valuable home improvement skills. From learning proper tile cutting and grouting techniques to mastering the art of surface preparation, these hands-on experiences can boost your confidence and equip you with the knowledge to tackle future projects with ease.
DIY Project Planning Tips
Successful DIY tile and backsplash installations require careful project planning and timeline management. Begin by accurately measuring your space, creating a detailed material list, and allocating sufficient time for each step of the installation process. Don’t be afraid to consult online tutorials, renovation blogs, or seasoned DIY-ers to ensure you’re well-prepared for your project.
By embracing the DIY approach to tile and backsplash installations, you can transform your space with budget-friendly flair, all while developing a valuable skillset that will serve you well for years to come. So, roll up your sleeves, pick up your tools, and get ready to create the eco-friendly, family-friendly, and inspirational space of your dreams!


