Painting can be one of the most transformative and cost-effective ways to refresh your home. Whether you’re tackling a full-room makeover or simply want to spruce up some built-in cabinetry, mastering DIY painting techniques is key to achieving a flawless, professional-looking finish. As an experienced home improvement consultant for Reluctant Renovator, I’m here to share proven strategies and insider tips to help you elevate your painting projects.
Brush Handling Essentials
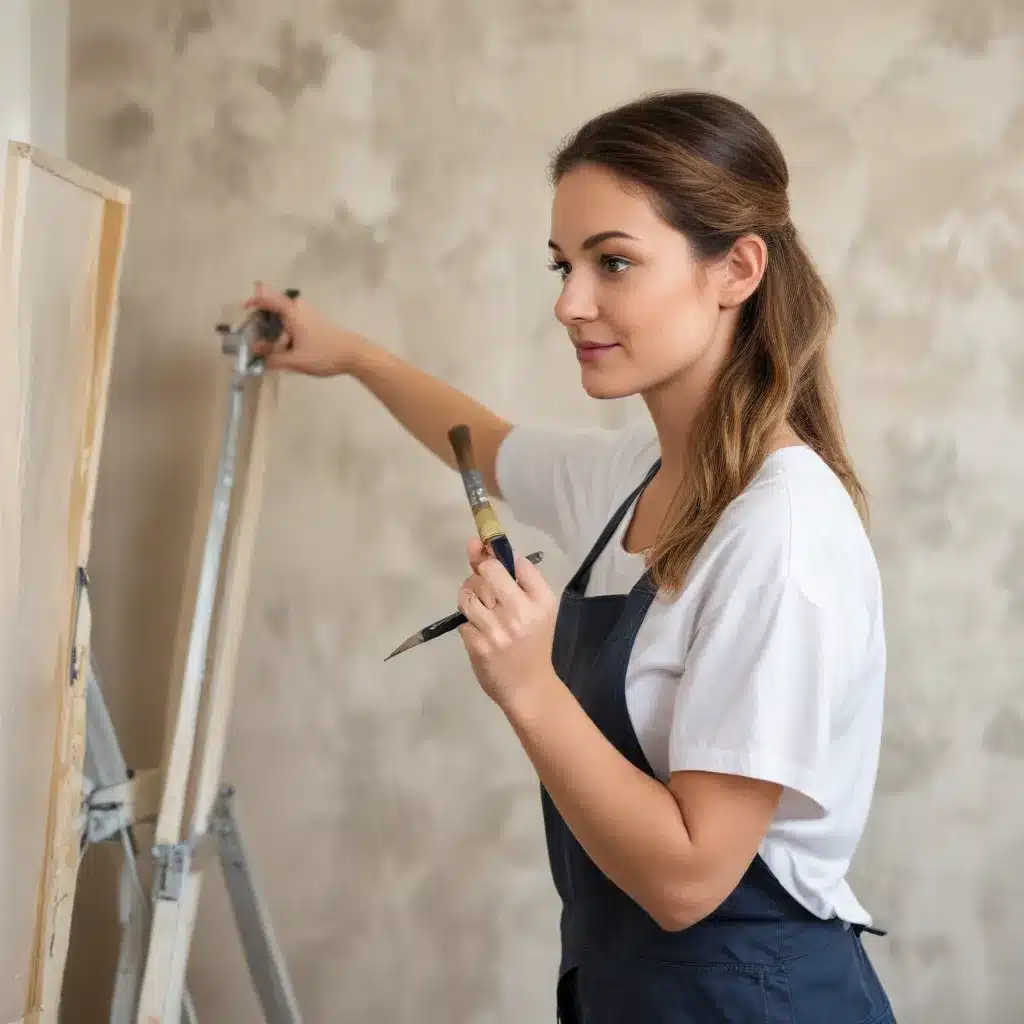
The foundation of any great paint job lies in your brush handling skills. Start by gripping the brush properly – hold it lightly near the ferrule (the metal band) with your fingers, allowing the handle to rest comfortably in your palm. This gives you maximum control and precision when cutting in around edges and trim. When painting, use long, smooth strokes, blending the paint as you go to create a seamless, consistent finish. Avoid lifting the brush off the surface until you’ve completed each section.
Achieving clean, crisp edges is essential, especially when painting around moldings or cabinets. Use a smaller angled brush to “cut in” along edges, then follow up with a roller or larger brush to fill in the center areas. Maintain a wet edge by working in manageable sections and blending the paint from one area into the next. This prevents unsightly lap marks or uneven coverage.
Surface Preparation Strategies
Proper surface preparation is crucial for any painting project, DIY or professional. Begin by thoroughly cleaning the surfaces you’ll be painting. Degrease cabinets, walls, or furniture with a strong cleaner to remove any dirt, grime, or oils that could interfere with paint adhesion. Once clean, lightly sand the surfaces to create a smooth, uniform base for the primer and paint.
Priming is a non-negotiable step that shouldn’t be skipped, even if your paint claims to be a “paint and primer in one.” High-quality bonding primer helps the topcoat adhere properly and provides excellent coverage, especially over stains or existing paint colors. Take the time to apply the primer in thin, even coats, allowing it to dry completely before moving on.
Masking and taping are essential for crisp, clean lines. Carefully apply painter’s tape along baseboards, trim, and any other areas you want to protect from overspray or drips. For best results, press the tape firmly into place and seal the edges with a putty knife or your fingers.
Color Selection and Mixing
Choosing the right paint color can make or break a project. Start by selecting complementary hues that work well with your existing décor. If you’re feeling adventurous, try incorporating bold accent colors or experimenting with color-blocking techniques. Once you’ve settled on the perfect shade, prepare to mix and blend the paint as needed.
For multi-toned or ombré effects, mix small batches of paint in varying ratios of your selected colors. Apply the lightest shade first, then gradually build up the intensity as you move across the surface. Blending the paint while it’s still wet will help create a smooth, seamless transition between the different hues.
Specialized Painting Methods
While brush and roller techniques are the foundation of any paint job, exploring specialized methods can elevate your DIY projects to new heights. Sponging and stippling are excellent for creating textured or mottled finishes, perfect for accent walls or furniture makeovers. Stenciling, on the other hand, allows you to incorporate intricate patterns and designs, transforming a simple surface into a work of art.
For those seeking a truly unique look, faux finishing techniques like glazing, antiquing, and distressing can add depth, character, and an artisanal feel to your painted surfaces. These methods require a bit more practice, but the results are well worth the effort.
Mastering Decorative Painting Styles
Moving beyond basic paint application, the world of decorative painting offers endless possibilities to personalize your space. Explore traditional techniques like faux finishes, which can mimic the appearance of materials like wood, stone, or even fabric. Glazing and antiquing add depth and a sense of age, while distressed finishes lend a charming, rustic vibe.
For a more contemporary aesthetic, consider ombre and gradient effects, geometric patterns, or even large-scale murals. These decorative painting styles can transform a simple wall into a stunning focal point, elevating the overall design of a room.
Optimizing Application Techniques
Regardless of the painting method you choose, mastering the basics of application is key to achieving professional-looking results. When using a brush, “cut in” around edges and corners for a clean, crisp line, then fill in the center areas with a roller for even coverage. Maintain a wet edge by blending the paint as you work, and be mindful of your brush strokes to minimize visible marks.
Painting with a roller requires a bit more technique. Load the roller evenly, and use a “W” or “M” pattern to ensure uniform application. Apply the paint in thin, overlapping layers, and keep a wet edge to avoid lap marks. Don’t be afraid to “tip off” the roller by lightly going over the surface one last time to smooth out any inconsistencies.
Pay close attention to drying times and recoat intervals. Most paints require a minimum of 2-4 hours between coats, so plan your project accordingly. Rushing the process can lead to undesirable results, such as peeling, cracking, or an uneven sheen.
Achieving a Professional Finish
The true mark of a successful DIY painting project lies in the final details. Seamless transitions, consistent sheen and texture, and meticulous finishing touches are what set a professional-looking paint job apart from an amateur one.
Take the time to carefully inspect your work, and address any imperfections or inconsistencies before calling the project complete. Lightly sand between coats, wipe away any dust or debris, and apply a high-quality clear topcoat to protect the paint and ensure a long-lasting, durable finish.
Proper cleanup and maintenance are also essential. Thoroughly clean your brushes and rollers after each use, and store them properly to preserve their condition for future projects. Regularly inspect the painted surfaces and address any wear or damage promptly to keep your space looking its best.
By mastering these DIY painting techniques and strategies, you can transform any room or surface in your home with a polished, professional-grade finish. Whether you’re tackling a full-scale renovation or simply want to refresh a piece of furniture, the right approach and attention to detail can yield truly remarkable results. So, roll up your sleeves, grab your paintbrushes, and get ready to elevate your DIY painting projects to new heights!


