If you want to give your room a fresh new look, one of the simplest and most cost-effective ways to do so is by painting it. Whether you’re an experienced DIYer or just starting, painting a room can be enjoyable and rewarding. In this comprehensive guide, we’ll take you through the ten steps you must follow to achieve a professional-looking paint job.

Step 1: Preparation
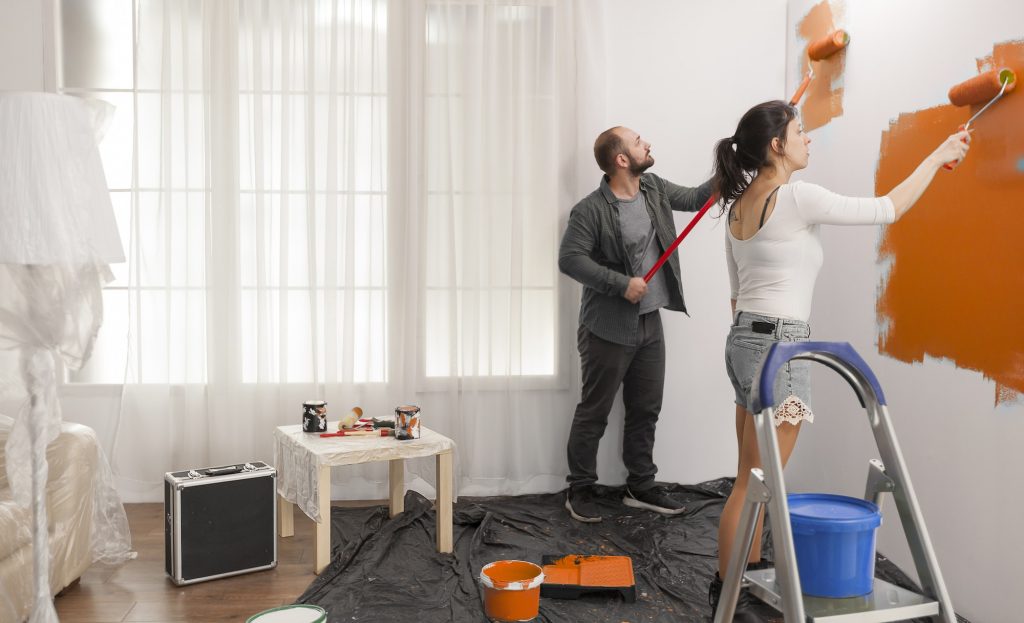
The first step in painting a room is to prepare the space. This includes moving furniture and covering it with drop cloths, removing light fixtures and switch plates, and protecting the floor with plastic sheeting or newspaper. It’s also a good idea to fill any cracks or holes in the walls with filler, sand them smoothly, and thoroughly clean them.
Step 2: Choose Your Paint
The next step is to choose your paint. When it comes to painting, there are several different types, including oil-based, water-based, and latex. Each type has pros and cons, so it’s essential to choose the one best suited to your needs and the type of surface you’re painting. Consider factors such as the type of surface, the intended use of the room, and the amount of natural light it receives when making your choice.
Step 3: Choose Your Tools
To paint a room, you’ll need a few essential tools, including paint brushes, roller frames and covers, paint trays, a ladder, and a drop cloth. Regarding brushes, it’s best to choose ones specifically designed for the type of paint you’re using. A high-quality roller and paint tray will make the job easier and help you achieve a smooth, even finish.
Step 4: Paint the Edges and Corners
The next step is to paint the edges and corners of the room. This includes the ceiling, the baseboards, and the trim. Use a brush to paint the edges and a smaller brush to get into the corners. Be sure to work carefully and methodically to avoid drips and splatters.
Step 5: Roll the Walls
Once you’ve finished painting the edges and corners, it’s time to roll the walls. Load your roller with paint, and start by painting a 2-3 foot wall section. Roll the paint on in a W pattern, then fill in the section with a straight up and down motion. Repeat this process until the entire wall is covered.
Step 6: Paint the Second Coat
Once the first coat of paint has dried, it’s time to apply a second coat. This will ensure that the paint is evenly distributed and the colour is consistent. Follow the same process as with the first coat, being careful not to overload the roller with paint.
Step 7: Touch-Up and Clean-Up
After the second coat has dried, it’s time to touch up any missed spots or drips. Use a small brush to touch up the areas that need it carefully. Then, clean up your tools and put everything away.
Step 8: Reattach the Fixtures and Switch Plates
The next step is to reattach the light fixtures and switch plates you removed earlier. Make sure they’re securely fastened and working correctly.
Step 9: Replace Furniture
Once the fixtures and switch plates are back in place, it’s time to replace the furniture. Be sure to move it carefully to avoid damaging the walls or the paint.
Step 10: Enjoy Your Newly Painted Room!
Painting a room can be fun and rewarding, but it’s essential to follow the steps carefully to achieve a professional-looking paint job. By following this comprehensive guide, you can transform your room in no time!
Tips for Achieving a Professional-Looking Paint Job
- Take your time and work carefully to avoid drips and splatters.
- Use a high-quality roller and paint tray for a smooth, even finish.
- Choose brushes specifically designed for the type of paint you’re using.
- Paint the edges and corners first, and then roll the walls.
- Apply two coats of paint for best results.
- Touch up missed spots and drips after the second coat has dried.
- Clean up your tools and put everything away when you’re finished.


