Achieving a flawless, professional-grade drywall finish can be a real challenge, even for experienced DIYers. From choosing the right tools and techniques to avoiding common mistakes, the process of transforming uneven, damaged walls into a smooth, seamless canvas requires skill, patience, and attention to detail.
As an experienced home improvement consultant, I’ve seen firsthand the difference that proper drywall finishing can make in the overall look and feel of a space. Whether you’re tackling a full-scale renovation or simply refreshing a few rooms, mastering the art of drywall finishing is essential for achieving a polished, high-quality result.
In this comprehensive guide, we’ll explore the essential tools and proven techniques for delivering a flawless drywall texture, from spray-on solutions to hand-applied finishes. We’ll also cover essential surface preparation tips, taping and mudding methods, and sanding best practices to help you avoid common pitfalls and deliver a professional-caliber finish every time.
Drywall Finishing Essentials
Before we dive into the specifics of drywall texturing and finishing, it’s important to establish a solid foundation of the core tools and techniques needed for success. Getting the right equipment and mastering the fundamentals will be crucial to achieving a smooth, consistent result across your project.
Essential Drywall Tools
The starting point for any drywall finishing project is having the right tools on hand. While the basic essentials – such as drywall knives, mud pans, and sandpaper – may seem straightforward, there’s a wide range of specialized equipment that can make a big difference in the quality and efficiency of your work.
Some key drywall finishing tools to consider include:
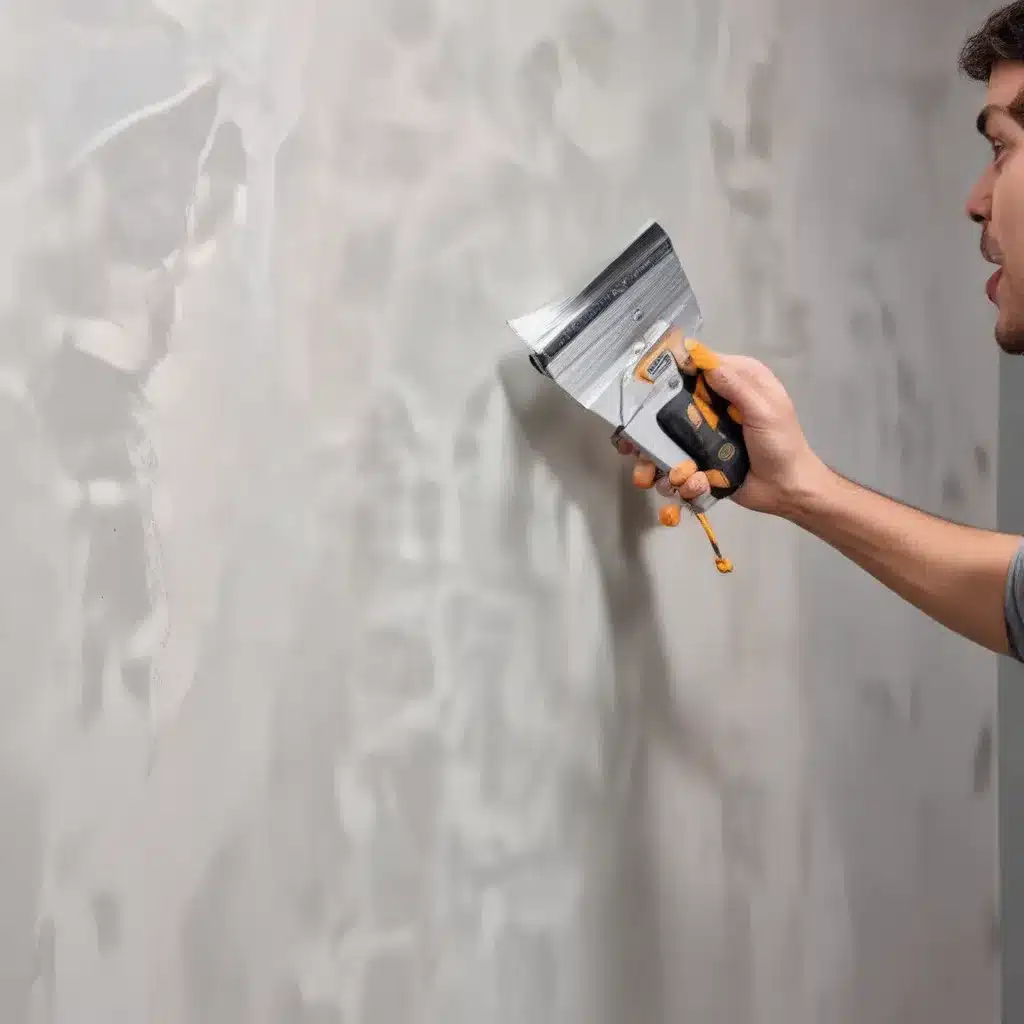
– Drywall Knives: Available in a variety of sizes (6″, 8″, 10″, 12″, and beyond), these flexible, stainless steel tools are essential for applying, smoothing, and feathering joint compound.
– Compound Mixer: An electric or cordless mixer makes it easy to achieve the perfect consistency for your joint compound, saving time and effort.
– Drywall Sander: Whether you opt for a pole sander, orbital sander, or even a drywall sanding machine, having the right power tool can dramatically speed up the sanding process.
– Corner Tools: Specialized tools like corner knives and bead rollers help you achieve clean, seamless edges and corners.
– Drywall Taping Knives: These flexible blades are designed for efficiently embedding drywall tape into the joints.
Drywall Texturing Techniques
In addition to the core tools, mastering drywall finishing also requires an understanding of the various texturing techniques available. From spray-on solutions to hand-applied finishes, the right approach can have a significant impact on the final appearance of your walls.
Whether you’re aiming for a smooth, consistent texture or a more decorative, knockdown or orange peel finish, knowing how to properly apply and control the texture is crucial. Carefully considering the desired aesthetic, room layout, and your own skill level will help you select the most appropriate texturing method for your project.
Achieving Flawless Drywall Finishes
With the right tools and texturing techniques in your arsenal, the key to delivering a professional-grade drywall finish lies in meticulous attention to detail and a methodical approach. From preparing the surface and taping the joints to applying multiple coats of compound and sanding to perfection, each step in the process plays a critical role in the final result.
Maintaining consistent thickness, feathering edges, and allowing proper drying time between coats are just a few of the essential techniques that separate a DIY drywall job from a truly flawless, seamless finish. By understanding and executing these best practices, you can transform even the most uneven or damaged walls into a smooth, pristine canvas ready for paint or wallpaper.
Mastering Drywall Texturing
When it comes to drywall finishing, the choice of texture can have a significant impact on the overall aesthetic of a space. From the sleek, uniform look of a smooth finish to the more decorative knockdown or orange peel textures, understanding the different options and how to properly apply them is key to achieving your desired result.
Spray-On Drywall Textures
One of the most efficient and consistent ways to achieve a drywall texture is through the use of spray-on solutions. These specialized compounds are designed to be applied with a hopper gun or texture sprayer, creating a uniform, consistent pattern across large areas with minimal effort.
Spray-on textures offer a range of options, from the smooth, even finish of a skip trowel or level 5 coating to the subtle, pebbled appearance of an orange peel or knockdown texture. The key to success with these spray-on solutions is ensuring proper surface preparation, mixing the compound to the right consistency, and mastering the spraying technique to achieve an even, consistent coverage.
Hand-Applied Drywall Textures
While spray-on textures offer speed and efficiency, some homeowners and contractors prefer the more customizable, hands-on approach of hand-applied drywall finishes. These techniques, which involve manually applying and manipulating the joint compound, can provide a more personalized, artisanal look to your walls.
Knockdown texture, for example, is created by spraying or troweling on a heavy, consistent layer of compound, then using a special knockdown knife to lightly flatten the peaks, resulting in a subtly rugged appearance. Orange peel texture, on the other hand, is achieved by flicking the compound onto the wall with a drywall knife or brush, creating a consistent, pebbled** finish.
Choosing the Right Texture
When deciding on the ideal drywall texture for your project, consider factors such as the overall aesthetic you’re aiming for, the size and layout of the space, and your own skill level and preferences. Smooth finishes tend to work best in modern, minimalist designs, while more decorative textures can add visual interest and character to traditional or rustic-inspired spaces.
If you’re tackling a large, open-concept area, spray-on textures may be the most efficient and consistent choice. For smaller, more intricate rooms or specific design details, hand-applied finishes can offer greater control and customization.
Ultimately, the right texture is the one that aligns with your vision and complements the overall style of your home. Don’t be afraid to experiment or seek inspiration from online galleries and design resources to find the perfect drywall finish for your space.
Drywall Finishing Tools
Equipping yourself with the right tools is essential for achieving a flawless drywall finish, whether you’re tackling a DIY project or working as a professional contractor. From power tools that speed up the process to specialty accessories that help you tackle tricky details, having the appropriate equipment can make all the difference in the quality and efficiency of your work.
Power Tools for Drywall Finishing
While manual drywall knives and sanding blocks are essential for the job, power tools can significantly streamline the finishing process, especially when working on larger projects or tackling tough, uneven surfaces.
Some of the most valuable power tools for drywall finishing include:
– Drywall Sander: Equipped with a powerful motor and large sanding discs, these tools can make quick work of sanding down joint compound, creating a smooth, even surface in a fraction of the time required by hand.
– Compound Mixer: An electric or cordless mixer allows you to quickly and consistently blend your joint compound to the perfect consistency, saving time and effort.
– Texture Sprayer: For achieving a uniform, consistent texture across large areas, a specialized texture sprayer can be a game-changer, applying spray-on finishes with precision and efficiency.
Manual Drywall Finishing Tools
While power tools can boost productivity, the core of any drywall finishing toolkit is the manual tools that enable you to apply, smooth, and refine the joint compound with precision and control.
Key manual drywall finishing tools include:
– Drywall Knives: Available in a variety of sizes, these flexible, stainless steel blades are essential for applying, smoothing, and feathering joint compound.
– Mud Pans: These shallow, rectangular trays provide a convenient way to load and apply joint compound, making the process more efficient and controlled.
– Sandpaper: From coarse grit for aggressive sanding to fine, 220-grit paper for the final polish, having the right sandpaper on hand is crucial for achieving a flawless, blemish-free finish.
Specialty Drywall Finishing Accessories
In addition to the core power and manual tools, a variety of specialty accessories can help you tackle the more intricate aspects of drywall finishing, from clean, seamless corners to perfectly blended edges.
Some valuable specialty tools include:
– Corner Tools: Specialized corner knives and bead rollers make it easier to embed tape and apply compound into inside and outside corners, creating a crisp, professional look.
– Taping Knives: These flexible, narrow blades are designed specifically for efficiently embedding drywall tape into the joints, ensuring a smooth, secure bond.
– Drywall Stilts: For tackling high ceilings or other hard-to-reach areas, drywall stilts allow you to work at elevated heights without the need for ladders or scaffolding.
By equipping yourself with the right mix of power tools, manual instruments, and specialty accessories, you’ll be well on your way to delivering a flawless, professional-grade drywall finish every time.
Achieving Professional-Grade Results
Mastering the art of drywall finishing requires attention to detail, a methodical approach, and a keen understanding of the essential techniques that separate a DIY job from a truly polished, seamless result. From meticulous surface preparation to expertly executed taping, mudding, and sanding, each step in the process plays a critical role in the final outcome.
Drywall Surface Preparation
Proper surface preparation is the foundation for a flawless drywall finish. Begin by thoroughly cleaning the wall, removing any old paint, wallpaper, or debris that could interfere with the adhesion of the joint compound. Inspect the surface for any cracks, holes, or uneven spots, and address them with appropriate drywall repair methods before proceeding.
Once the surface is clean and smooth, it’s important to prime the walls using a high-quality, drywall-specific primer. This helps to seal the surface and ensure the joint compound adheres properly, setting the stage for a consistent, long-lasting finish.
Drywall Taping and Mudding
With the surface properly prepared, the next step is to embed drywall tape into the joints and apply the first coat of joint compound, or “mud.” Be sure to use the appropriate taping knives and feather the edges to create a seamless transition between the tape and the surrounding wall.
After the initial coat has dried, apply subsequent layers of compound, gradually building up the thickness and feathering the edges to create a smooth, even surface. Take your time and allow each layer to dry completely before sanding and moving on to the next, as rushing this process can lead to uneven, bumpy results.
Sanding and Priming
The final step in achieving a flawless drywall finish is sanding the surface to perfection. Start with a coarse-grit sandpaper to remove any high spots or ridges, then progressively work your way up to a finer, 220-grit paper for a silky-smooth finish.
Once you’ve achieved the desired level of smoothness, wipe away any remaining dust and apply a high-quality, drywall-specific primer. This helps to seal the surface and prepare it for paint or wallpaper, ensuring a long-lasting, professional-grade result.
Remember, achieving a truly flawless drywall finish requires patience, attention to detail, and a willingness to take your time and get the job done right. By mastering the essential tools and techniques outlined in this guide, you’ll be well on your way to transforming even the most uneven or damaged walls into a smooth, seamless canvas that will serve as the perfect foundation for your next home improvement project.
For more helpful home renovation tips and tricks, be sure to visit Reluctant Renovator, your go-to resource for all things DIY and home improvement.


