Drywall installation may seem like a daunting task, but with the right tools and techniques, you can achieve a professional-quality finish in your home renovation project. As an experienced home improvement consultant for Reluctant Renovator, I’m here to share my insights on the essential tools and strategies for mastering drywall installation.
Drywall Installation Essentials
Drywall, also known as gypsum board or sheetrock, is a versatile and cost-effective material used to create smooth, seamless walls and ceilings. Whether you’re tackling a small repair or a full-scale room transformation, having the proper tools on hand can make all the difference in the quality of your results.
Necessary Tools
The key to successful drywall installation lies in having the right tools for the job. Some of the must-have items include:
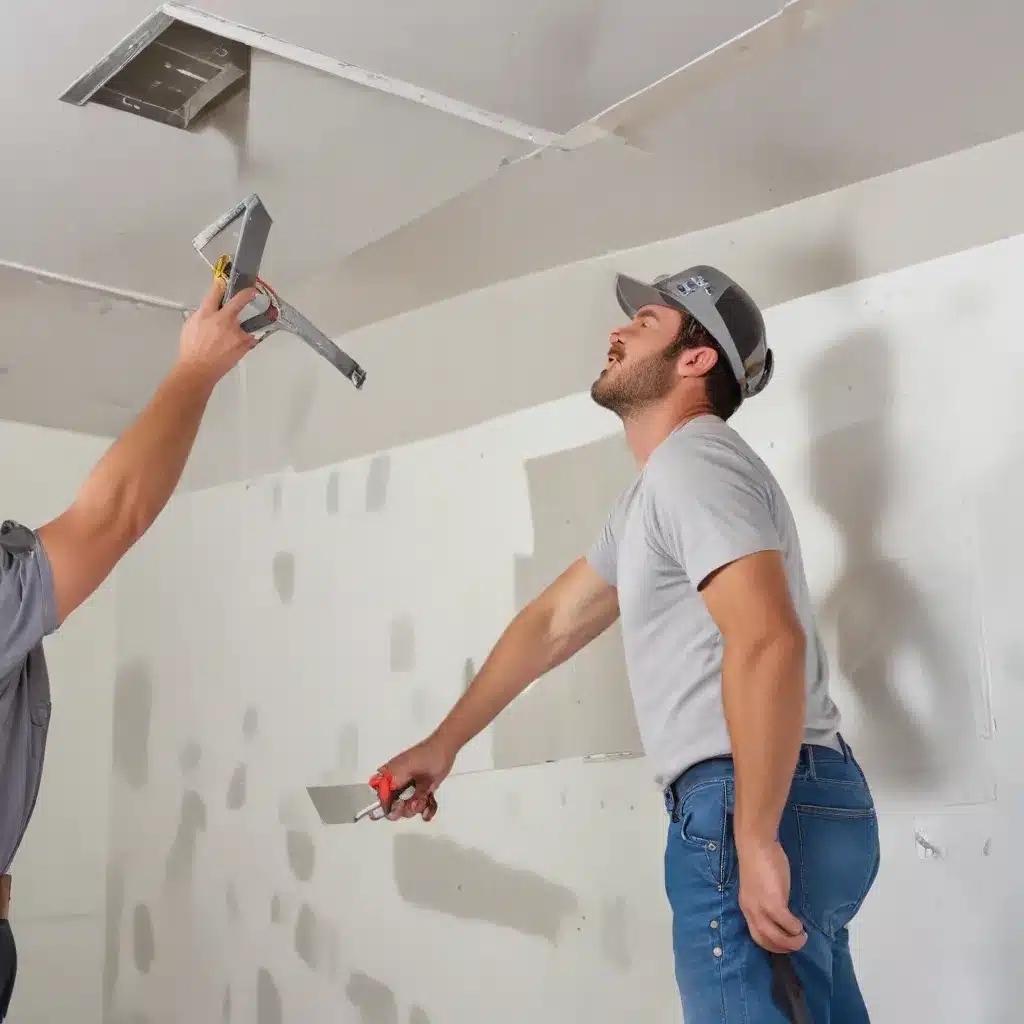
- Drywall Knives: These specialized tools come in various sizes, from 4-inch to 12-inch blades, allowing you to apply joint compound and smooth the surface.
- Drywall Saw: A sharp drywall saw is essential for cutting clean, straight lines in the drywall panels.
- Utility Knife: For making precise cuts and trimming around obstacles.
- Drywall Screwdriver: Designed with a magnetic tip to securely fasten drywall panels to the wall framing.
- Measuring Tape and Pencil: Accurate measurements and markings are crucial for properly fitting drywall pieces.
- Dust Mask and Safety Goggles: Protect your health by wearing proper personal protective equipment (PPE) during the installation process.
Preparation Techniques
Before you begin the installation, it’s essential to properly prepare the work area. Start by clearing the space of any furniture or obstructions, and cover the floor with a drop cloth to catch dust and debris. Ensure the wall framing is sturdy and level, and address any existing cracks or holes in the surface.
Next, measure and mark the placement of your drywall panels, taking into account the location of electrical outlets, light switches, and other fixtures. This will help you plan the cut-outs and ensure a seamless final result.
Installation Strategies
When it comes to actually installing the drywall, there are a few key techniques to keep in mind:
- Cutting and Fitting: Use a drywall saw or utility knife to make precise cuts, ensuring the panels fit snugly against the wall framing. Measure twice, cut once to avoid waste.
- Fastening: Secure the drywall panels to the wall framing using drywall screws, spacing them approximately 16 inches apart. Ensure the screws are flush with the surface, avoiding any protruding edges.
- Joints and Corners: For a professional-looking finish, pay close attention to the drywall joints and corners. Use joint compound (also known as drywall mud) and drywall tape to create a smooth, seamless transition between panels.
Achieving a Flawless Finish
The true hallmark of a well-executed drywall installation lies in the finishing process. This is where your attention to detail and mastery of the necessary techniques will shine through.
Drywall Finishing Methods
After the initial installation, you’ll need to apply several coats of joint compound to the seams and corners, sanding between each layer to achieve a smooth, uniform surface. This process, known as drywall taping and mudding, is where many DIYers struggle.
To ensure a flawless finish, be sure to mix the joint compound to the proper consistency, applying each coat with a clean, even stroke. Use a drywall knife or putty knife to feather the edges and blend the compound into the surrounding drywall.
Sanding and Texturing
Once the final coat of joint compound has dried, it’s time to sand the surface. Start with a coarse grit sandpaper and gradually work your way up to a finer grit, ensuring you don’t over-sand and damage the drywall. This step is crucial for creating a smooth, blemish-free canvas for the next phase of your renovation.
If you desire a textured finish, such as a knockdown or popcorn effect, you can apply a specialized drywall compound or spray-on texture before painting.
Painting and Decorating
With the drywall installation and finishing complete, you’re now ready to paint and decorate your newly transformed space. Be sure to use a high-quality, low-VOC paint to ensure a long-lasting, eco-friendly finish.
Drywall Cutting and Shaping
Precise cutting and shaping of drywall panels are essential for achieving a seamless, professional-looking installation. This step requires careful planning and attention to detail.
Measuring and Marking
Start by taking accurate measurements of the wall or ceiling area you’ll be covering. Use a tape measure and pencil to mark the cut lines on the drywall panels, ensuring a snug, gapless fit.
Cutting and Trimming
Employ a drywall saw or utility knife to make clean, straight cuts along the marked lines. For any irregular shapes or tight spaces, a handheld drywall saw or oscillating tool can be invaluable.
Fitting and Securing
Once the panels are cut to size, carefully position them against the wall or ceiling framing. Secure the drywall in place using drywall screws, making sure they’re flush with the surface to avoid any bumps or protrusions.
Optimizing Workspace Efficiency
Effective workspace organization and safety practices can greatly enhance your drywall installation experience, helping you work more efficiently and avoid common pitfalls.
Workspace Organization
Keep your work area tidy and well-stocked with all the necessary tools and materials. This will minimize time-consuming trips back and forth, allowing you to maintain a steady, focused workflow.
Time-Saving Techniques
Utilize drywall lifts or carts to transport and position heavy panels, and consider investing in power tools like drywall saws or rotary tools to speed up the cutting and shaping process.
Safety Considerations
Always prioritize safety by wearing dust masks and safety goggles to protect your respiratory and eye health. Proper ventilation and cleanup procedures are also crucial to minimize the impact of drywall dust on your living space.
By mastering the essential tools and techniques of drywall installation, you’ll be well on your way to achieving a flawless, professional-grade finish in your home renovation project. Remember to take your time, practice patience, and don’t be afraid to seek the guidance of experienced contractors or Reluctant Renovator resources when needed. With the right approach, you can transform your space with confidence and create a stunning, seamless result that will impress both you and your guests.


