Drywall repair can seem like a daunting task, but with the right spackle, putty knives, and techniques, you can achieve a smooth, seamless finish that’s virtually indistinguishable from the surrounding wall. As an experienced home improvement consultant, I’m here to share my expertise on mastering drywall repair, from assessing the damage to blending the repaired area with the rest of your walls.
Choosing the Right Spackle
The foundation of a successful drywall repair lies in selecting the appropriate spackle or joint compound. These materials come in a variety of formulations, each with its own strengths and applications. When choosing a spackle, consider the size of the repair, the desired finish, and the overall timeline of your project.
For small holes and cracks, a lightweight spackling compound is an excellent option. These easy-to-apply fillers dry quickly and sand smoothly, making them ideal for minor touch-ups. However, for larger repairs or areas that require multiple coats, you may want to opt for a drywall joint compound, also known as “mud.” These thicker, more versatile compounds can be built up in layers to fill larger gaps and provide a smooth, seamless finish.
When working with joint compounds, pay attention to the different types available, such as all-purpose, setting-type, and lightweight. All-purpose compounds are a great all-around choice, while setting-type compounds offer faster drying times and increased durability. Lightweight options can be easier to work with and sand, but may require more coats to achieve the desired thickness.
Putty Knife Selection
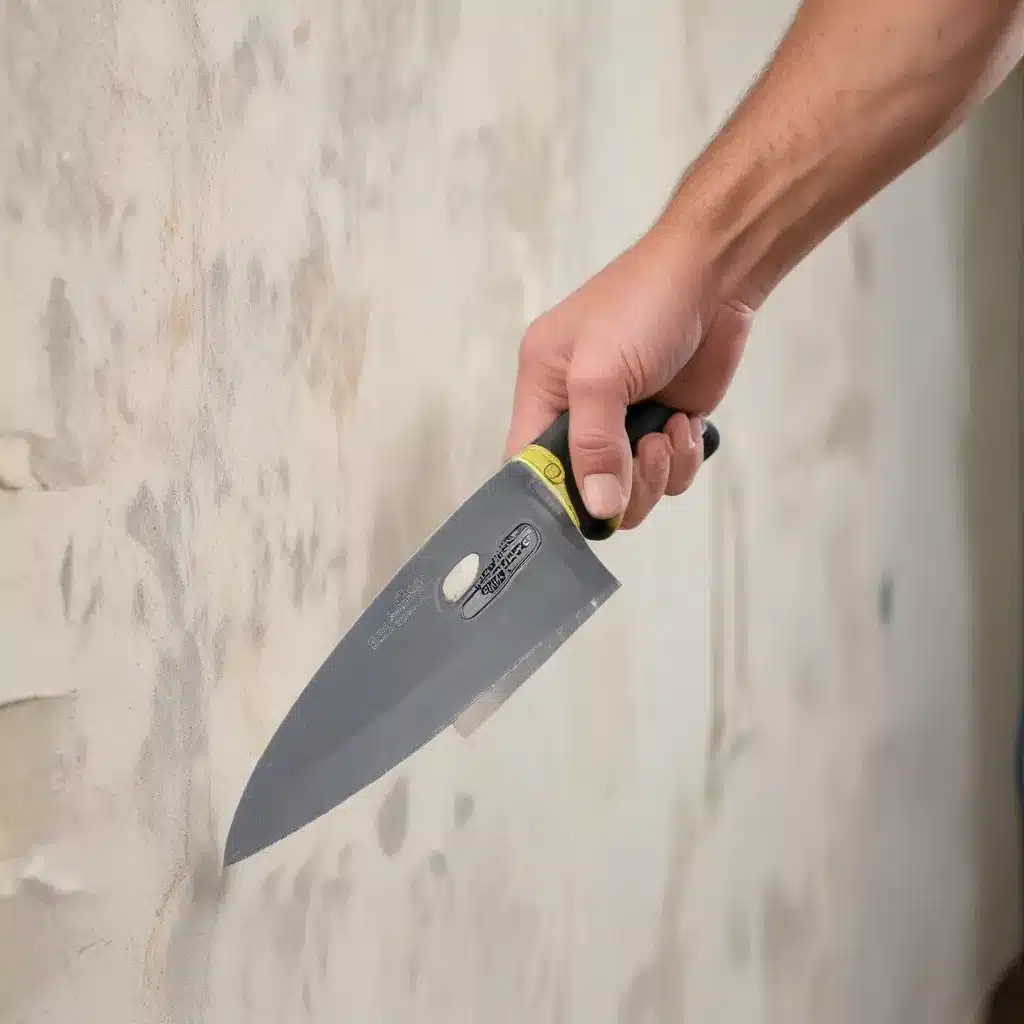
Along with the right spackle, the putty knife is an essential tool for drywall repair. This versatile instrument allows you to apply, smooth, and feather the compound, creating a seamless transition between the repaired area and the surrounding wall.
When selecting a putty knife, consider the size of the repair and the level of precision you’ll need. Smaller, flexible 5-inch or 6-inch putty knives are great for filling cracks and small holes, while larger 10-inch or 12-inch knives are better suited for covering larger areas. Look for knives with a rigid, high-quality steel blade that won’t bend or flex during use.
For the smoothest, most professional-looking results, opt for a stainless steel putty knife. These knives glide effortlessly over the spackle, minimizing the risk of leaving behind uneven or bumpy textures. Avoid cheaper plastic or wooden-handled knives, as they may not provide the necessary control and precision.
Sanding Techniques
Once you’ve applied the spackle or joint compound, the next step is to sand the repaired area to achieve a seamless, flawless finish. This can be one of the most challenging aspects of drywall repair, but with the right approach, you can master the art of sanding.
Begin with a coarse-grit sandpaper, such as 80-grit, to quickly remove any excess compound and level the surface. Gradually work your way up to finer grits, such as 120-grit and 150-grit, to smooth out the area and blend it with the surrounding wall.
When sanding, be sure to use a sanding sponge or a drywall sanding screen. These tools conform to the wall’s surface, helping you achieve a more even and consistent finish. Avoid using a standard piece of sandpaper, as it can create uneven pressure and leave behind visible marks.
Remember to sand gently and in a circular motion, taking care not to overdo it and create depressions or divots in the wall. It’s better to take your time and apply light pressure than to risk damaging the surface.
Preparing the Surface
Before you can begin the actual drywall repair, it’s essential to properly prepare the damaged area. This involves assessing the type and extent of the damage, cleaning the surface, and cutting a clean, straight-edged patch if necessary.
Assessing the Damage:
Carefully examine the wall to determine the nature of the damage. Is it a small nail hole, a larger crack, or a section of drywall that needs to be replaced entirely? Understanding the extent of the problem will help you select the appropriate repair materials and techniques.
Cleaning the Area:
Once you’ve identified the issue, thoroughly clean the surrounding area. Remove any loose debris, dust, or old paint or spackle using a damp cloth or a vacuum attachment. This will ensure the new compound adheres properly and creates a seamless transition.
Cutting Drywall Patches:
For larger holes or damaged sections, you may need to cut a drywall patch to fit the opening. Use a utility knife or a drywall saw to carefully cut a piece of drywall that’s slightly larger than the hole. This will provide a clean, straight edge for the repair.
Applying Spackle and Putty
With the surface prepared, it’s time to apply the spackle or joint compound. This process requires a bit of skill and practice, but by following these steps, you can achieve a smooth, professional-looking finish.
Mixing the Spackle:
If you’re using a powdered joint compound, be sure to mix it according to the manufacturer’s instructions. The consistency should be thick and creamy, without any lumps or dry spots. Avoid adding too much water, as this can compromise the compound’s strength and adhesion.
Spreading the Spackle:
Using your putty knife, apply a thin, even layer of the spackle or compound over the damaged area. Be sure to feather the edges, blending the repair seamlessly into the surrounding wall. For larger repairs, you may need to apply multiple coats, allowing each one to dry completely before moving on to the next.
Smoothing the Surface:
As the spackle or compound dries, use your putty knife to gently smooth and flatten the surface. Apply light pressure and work in a circular motion to create a smooth, uniform texture. This step is crucial for achieving a seamless finish that’s ready for priming and painting.
Achieving a Seamless Finish
The final stage of drywall repair is all about creating a surface that’s indistinguishable from the rest of your walls. This involves sanding, priming, and painting the repaired area to blend it seamlessly with the surrounding surfaces.
Sanding the Repaired Area:
Once the spackle or compound has fully dried, use your sanding sponge or screen to gently smooth the surface. Start with a coarser grit and gradually work your way up to a finer one, ensuring the area is flush with the wall and free of any bumps or ridges.
Priming and Painting:
After sanding, apply a coat of primer to the repaired area. This will help seal the surface and provide a uniform base for the final paint layer. Choose a primer that’s compatible with your existing wall paint, and apply it in thin, even coats.
Blending with Surrounding Walls:
Once the primer is dry, apply a matching paint color to the repaired area. Use a high-quality paint roller to ensure a smooth, consistent finish. Carefully blend the edges of the painted area with the surrounding wall, using light, feathering strokes to create an imperceptible transition.
With the right tools, techniques, and a bit of patience, you can master the art of drywall repair and achieve a flawless, professional-looking finish. By following the tips and guidance outlined in this article, you’ll be well on your way to transforming those unsightly cracks, holes, and damaged areas into seamless, beautiful walls that enhance the overall aesthetic of your home.
Remember, if you ever feel overwhelmed or unsure about tackling a drywall repair project, don’t hesitate to consult with a professional contractor. Services like Reluctant Renovator can provide expert guidance and ensure your renovation project is completed with the utmost care and attention to detail.


