When undertaking a bathroom renovation project, it’s essential to consider the principles of universal design – an approach that creates spaces accessible and usable by people of all ages, sizes, and abilities. Transforming your bathroom into an inclusive, ADA-compliant sanctuary not only benefits those with physical disabilities but also enhances everyday comfort and convenience for the entire family.
In this comprehensive guide, we’ll explore key strategies for maximizing accessibility in your bathroom renovation, from wheelchair mobility considerations and inclusive fixture selection to sensory-friendly enhancements. Whether you’re starting from scratch or revitalizing an existing space, these expert insights will help you create a bathroom that caters to diverse needs while reflecting your personal style.
Accessible Bathroom Design Principles
At the heart of an accessible bathroom lies a thoughtful, user-centric design approach. By focusing on the specific needs and challenges faced by individuals with varying degrees of mobility, vision, and dexterity, you can create a space that seamlessly accommodates a wide range of users.
Wheelchair Mobility Considerations
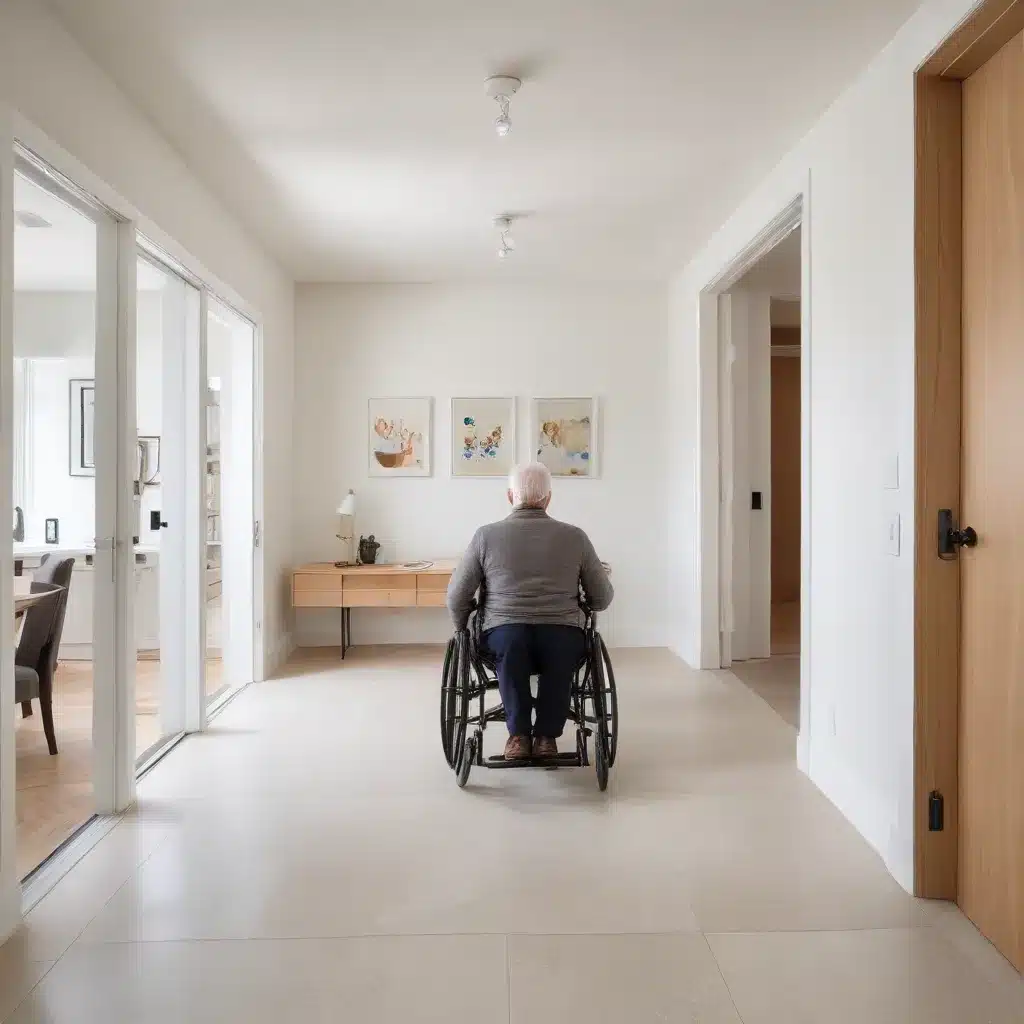
When designing for wheelchair accessibility, it’s crucial to ensure ample turning radius and clear floor space to allow for easy maneuverability. Doorways should be a minimum of 32 inches wide, and hallways leading to the bathroom should be at least 36 inches wide. Inside the bathroom, provide a clear floor space of at least 60 inches in diameter, allowing a full 360-degree turn.
Inclusive Fixture Selection
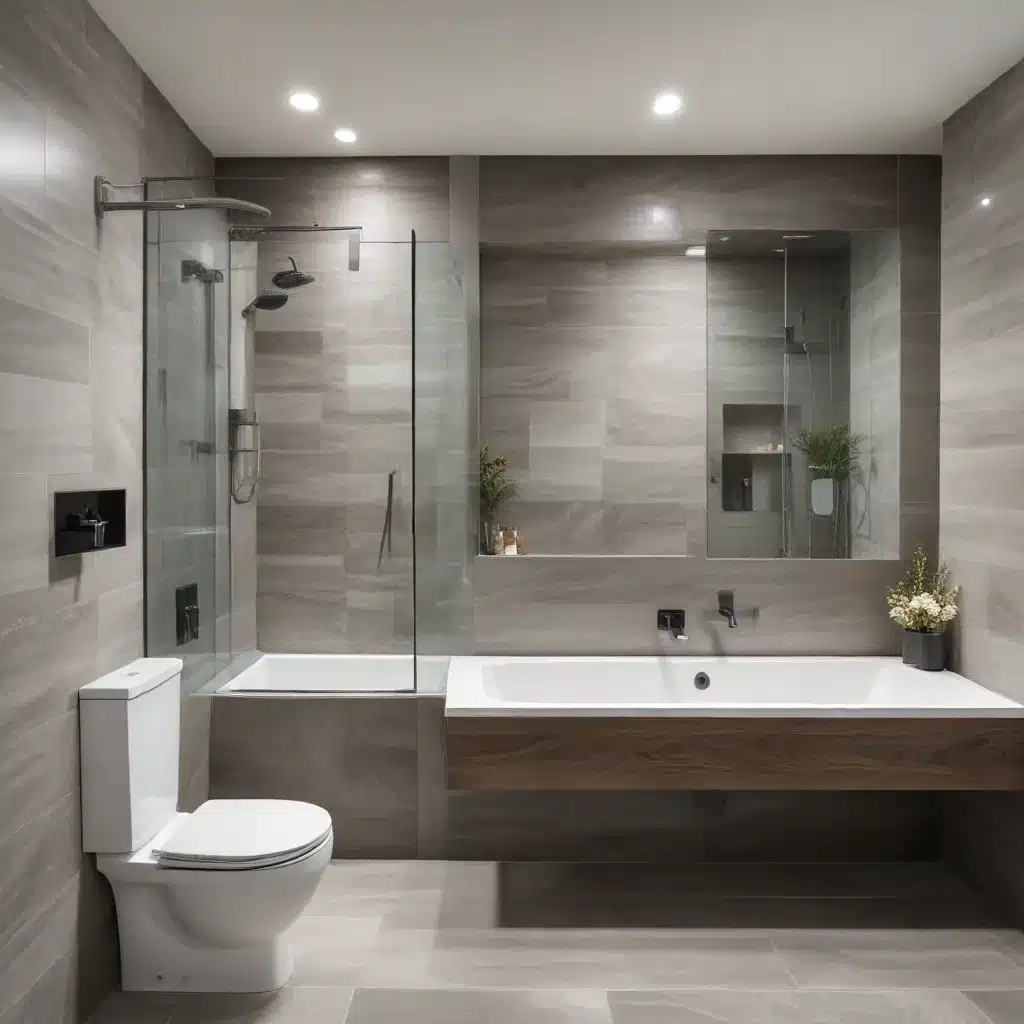
Choosing the right fixtures and fittings can greatly enhance accessibility. Opt for wall-mounted sinks and vanities with adjustable heights to accommodate users of varying statures. Ensure that faucets and shower controls are easy to reach and operate, with lever-style handles or touchless technology. For the toilet, consider a comfort-height model with sturdy grab bars on both sides.
Lighting and Contrast Requirements
Proper lighting and visual contrast are essential for users with low vision or sensory processing challenges. Incorporate a combination of ambient, task, and accent lighting to illuminate all areas of the bathroom evenly. Use high-contrast color schemes for walls, floors, and fixtures to create clear delineation between surfaces. Ensure that switches, outlets, and other controls are easily identifiable through the use of contrasting colors or tactile indicators.
Incorporating Assistive Features
Beyond the basic design principles, incorporating specific assistive features can further elevate the functionality and comfort of your accessible bathroom.
Grab Bar Placement and Types
Strategically placed grab bars provide crucial support and stability for users transferring in and out of the shower or bathtub, as well as when using the toilet. Install grab bars on at least two walls of the shower or tub, positioning them 33-36 inches above the floor. For the toilet, place grab bars on the wall closest to the user’s transfer side, as well as on the back wall.
Adjustable Sink and Vanity Height
Allowing for adjustable sink and vanity heights can accommodate users of varying statures, including wheelchair users. Incorporate a motorized or manual mechanism that enables the countertop to be raised or lowered to the desired level, ensuring comfortable access to the sink and storage.
Curbless Shower Design
A curbless shower design eliminates the step up into the shower area, creating a seamless transition and improving accessibility for those using wheelchairs, walkers, or other mobility aids. This also helps prevent tripping hazards and makes cleaning the shower area more convenient.
Universal Bathroom Layout Strategies
Beyond individual fixtures and features, the overall layout of your bathroom plays a crucial role in maximizing accessibility and usability.
Doorway Width and Entry Points
Ensure that the bathroom’s entry doorway is at least 32 inches wide to accommodate wheelchair users, and consider installing pocket or sliding doors to save valuable floor space. If possible, position the entry door to provide a clear, unobstructed path to the key fixtures, such as the toilet, sink, and shower.
Floor Plan Adaptability
Designing a flexible floor plan that can accommodate changing needs over time is essential for true universal accessibility. Incorporate ample open floor space and avoid fixed, permanent structures that may impede future modifications. This allows the bathroom to be easily adapted as the user’s needs evolve, whether it’s accommodating a wheelchair or adding assistive features.
Turning Radius and Clearance
Ensure that there is sufficient clearance and turning radius around key fixtures, such as the toilet, sink, and shower, to allow for comfortable maneuvering. The recommended turning radius for a wheelchair user is 60 inches in diameter, with a minimum of 30 inches of clear floor space in front of fixtures.
Enhancing Sensory Accessibility
In addition to physical accessibility, considerations for users with sensory processing challenges or cognitive impairments can greatly improve the overall usability and comfort of your bathroom space.
Auditory Cues and Alerts
Incorporate auditory cues and alerts to assist users with visual impairments or cognitive disabilities. This could include a voice-activated faucet that provides verbal feedback or a water-sensing alarm to indicate when the tub or sink is full.
Tactile Indicators and Signage
Use tactile indicators and high-contrast signage to clearly identify fixtures, controls, and other important elements. Braille labeling on switches, knobs, and door handles can be especially helpful for those with visual impairments.
Color Contrast and Visual Aids
Leverage high-contrast color schemes and patterns to create visual cues that enhance spatial awareness and ease of navigation. For example, use a contrasting border around the shower or tub to delineate the transition from the floor. Consider incorporating non-slip, high-traction flooring with a matte finish to prevent glare and improve traction.
By implementing these accessible design principles, assistive features, and universal layout strategies, you can transform your bathroom into a truly inclusive sanctuary that caters to the diverse needs of your family and guests. Remember, a well-designed accessible bathroom not only enhances the quality of life for those with physical or sensory challenges but also creates a more comfortable, convenient, and visually appealing space for all.
To learn more about incorporating universal design principles into your bathroom renovation project, visit Reluctant Renovator, where you’ll find a wealth of expert advice, product recommendations, and inspiring case studies. Our team of experienced renovation consultants is dedicated to helping you create the accessible, stylish, and functional bathroom of your dreams.


